


PAMEL PUU1 Wall Mount for Controllers
Leave feedback on the product

PUU1 – wall mount for PAMEL controllers. Simple and sturdy mounting on a wall or board (plywood, sheet metal, cabinet). It prevents the device from slipping, facilitates cable management, and improves ergonomics. Compatible with select PRW / PRD / PPOWER* controllers (see dimensions below). Installs in 3–4 minutes, uses standard screws/plugs.
Product code: F63B-261BE_20250315202311
PAMEL PUU1 – Wall Mount for Controllers
PUU1 is a practical mount for mounting PAMEL controllers on a wall or mounting plate. It allows for secure hanging of the device, aesthetically arranged cables, and more convenient use (display viewing at eye level, cable access from the bottom/side).
Set of 4.
Key Features
- Secure mounting – the shape of the mount limits shifting and accidental disconnection.
- Cable management – cable routing from the bottom/side, cable ties/zippers available.
- Quick assembly – two wall plugs/screws (wall) or M5/M6 screws (board/cabinet) are sufficient.
- Universal spacing – fits flat surfaces: concrete, brick, plasterboard, plywood, sheet metal, Rittal cabinets, etc.
- Robust material – made of durable plastic/metal profile*, resistant to typical operating conditions.
Applications
- Smokehouses, drying rooms, heating chambers – controller installation outside the hot/steam zone.
- Workshops and workshops – permanent test station.
- Control cabinets and panels – quick mounting on a board.
- Home DIY installations – aesthetically pleasing installation on doors/walls.
Compatibility
Bracket designed for selected PAMEL controllers, including: PRW, PRD/PRD2UF, selected PPOWER (MD/MW/XL). Before purchasing, compare the housing dimensions your model with the mounting space of the bracket .
Installation – Step by Step
- Select a location – stable, flat surface; away from intense heat/spatter zones.
- Mark the holes according to the bracket spacing. Recommended: two points horizontally (a spirit level can be used).
- Drilling – Wall: Ø6–8 mm plugs; board/sheet: M5/M6 screws + washers.
- Screw the bracket and tighten gently.
- Insert the controller – Slide it into the bracket; make sure the latches/collar engage.
- Arrange the cables – Leave a small service loop; secure with a cable tie.
Note: The appearance and details of the bracket may vary slightly between batches; this does not affect functionality. If you have critical dimensional requirements, please contact us before purchasing.
Certificates and safety warnings
PAMEL
PAMEL
Ask about the product

Administratorem danych osobowych jest PAMEL. Przetwarzamy je w celu przesłania odpowiedzi na zapytanie. Więcej informacji dotyczących przetwarzania danych osobowych znajduje się w polityce prywatności.
Inni kupili również
-
Price 145,00 złPrice 117,89 złwithout VAT
-
Price 440,00 złPrice 357,72 złwithout VAT
-
Price 38,00 złPrice 30,89 złwithout VAT
-
Price 245,00 złPrice 199,19 złwithout VAT
-
Price 30,00 złPrice 24,39 złwithout VAT
-
Price 35,00 złPrice 28,46 złwithout VAT
-
Price 14,00 złPrice 11,38 złwithout VAT


Polecane produkty
-
Price 125,00 złPrice 101,63 złwithout VAT
-
Price 245,00 złPrice 199,19 złwithout VAT
-
Price 145,00 złPrice 117,89 złwithout VAT
-
Price 31,00 złPrice 25,20 złwithout VAT
-
Bestseller

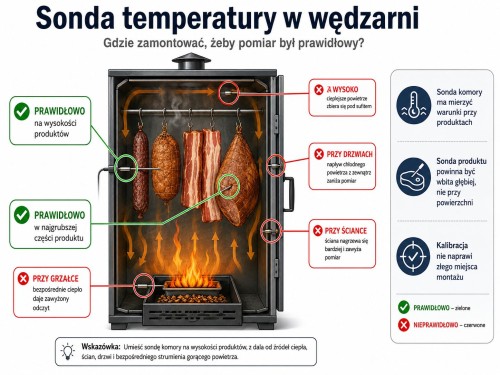
PAMEL PT1000 stainless steel finger temperature probe for PPOWER series
Price 39,99 złPrice 32,51 złwithout VAT -
Price 100,00 złPrice 81,30 złwithout VAT
-
Bestseller

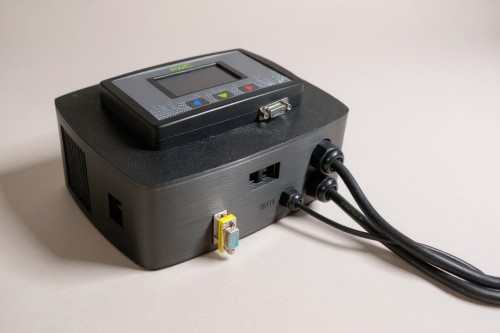
PAMEL PRD3F DUO three-phase power and temperature controller (maximum 5 probes + 3 valves)
Price 520,00 złPrice 422,76 złwithout VAT -
Price 245,00 złPrice 199,19 złwithout VAT


Opinie
If you've added a review and it doesn't appear on the list, it may be pending moderation.
Leave feedback on the product
 Log in with Facebook
 Log in with Google


